Courses Enrollment
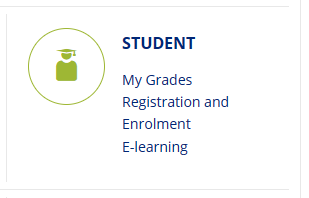
1. Click on Registration and Enrolment under Student Pic.1.
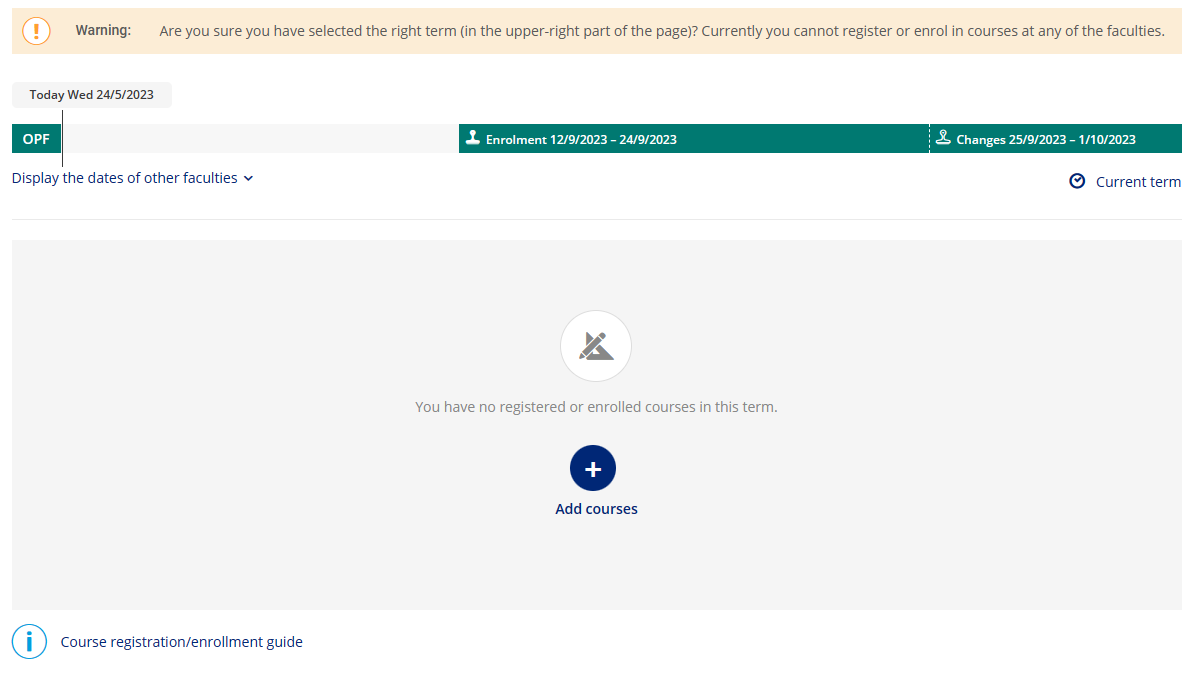
2. Make sure, that you have selected the right term and click on Add courses Pic.2.
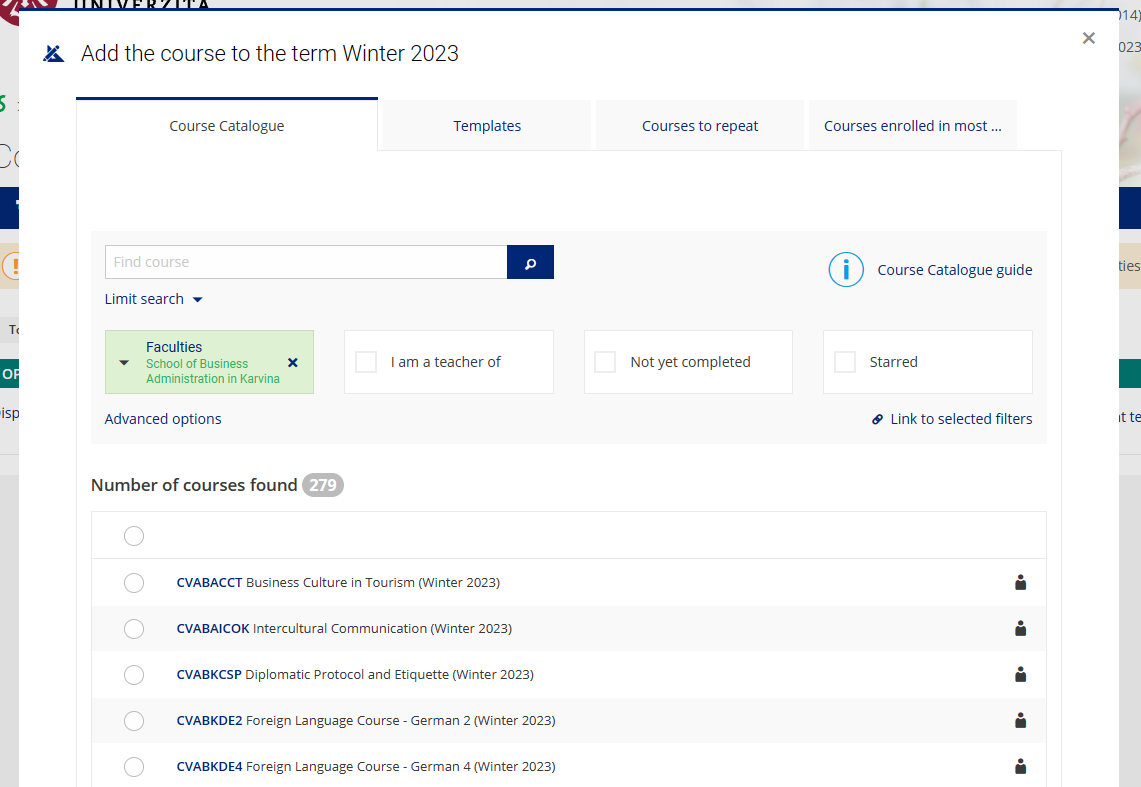
3. This will open a guide for picking up the courses for the selected term Pic.3.
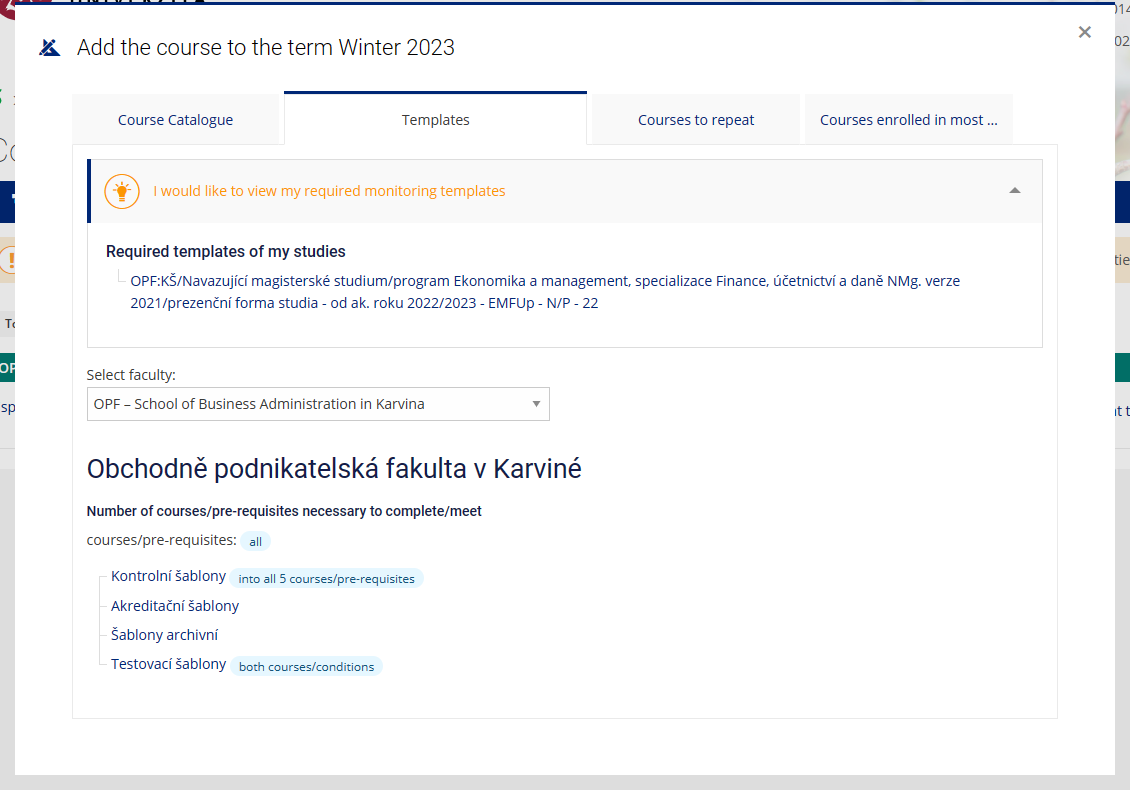
4. Switch to Templates panel and the colored textbox I would like to view my required monitoring templates Pic.4. Here you'll see the template set up for your study. Click on it.
5. This will open a list of obligatory and mandatory-elective courses, intended for your study programme Pic.5. Now you can pick the course by clicking on the blue symbol +  , adding it to your list (symbol will change to white check mark in green background
  ). Alternatively, it is possible to use the symbol *
  , that will put the course to favorite and prep them for bulk enrollment. Chosen courses have the symbol * marked yellow
  . A green thumbs up
  marks already finished courses, a red thumbs down
  marks the failed courses (these can also be found under Courses to repeat). All courses ready for enrollment will be marked by a blue paper and pen symbol
  .
.
We recommend to keep the Display courses by semester active for easier courses selection.
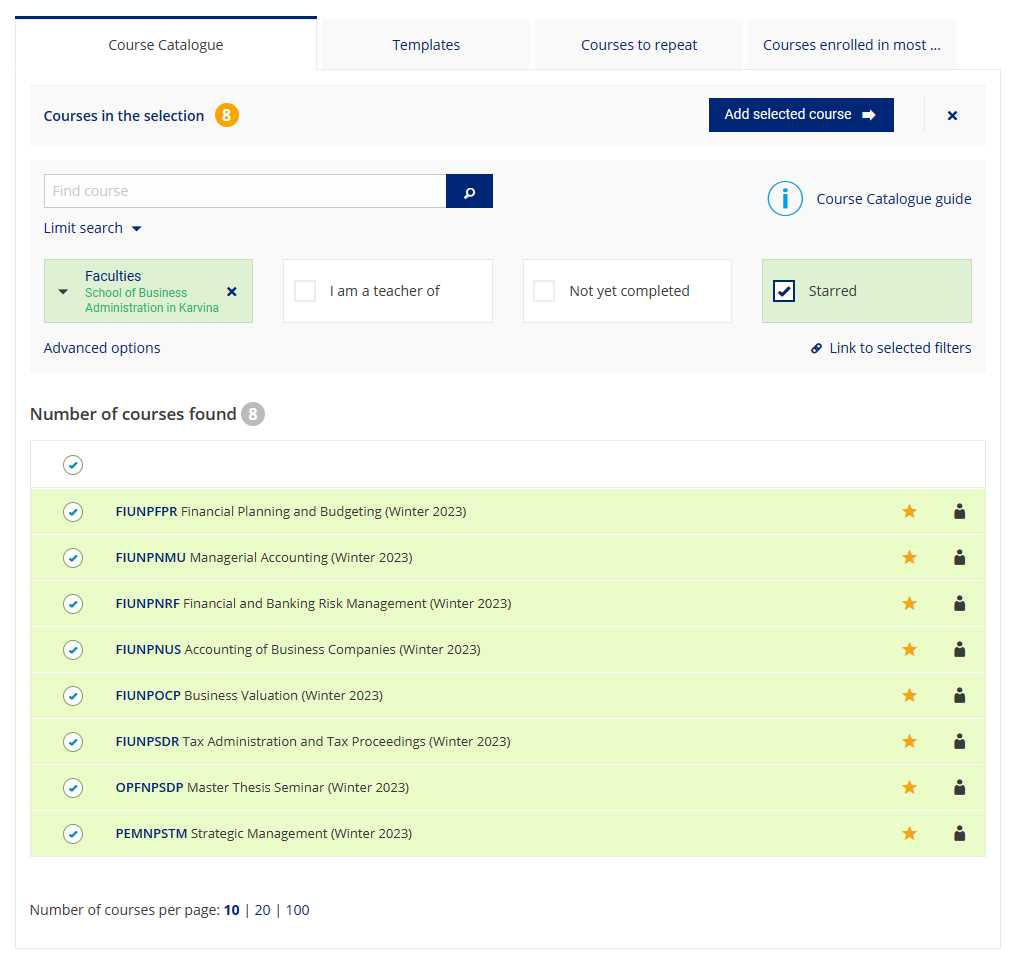
6. If you chose the enrollment through the favorite (*), switch to the tab Course Catalogue and click on Starred. List of marked courses will be displayed. After selecting them, click on Add selected course to pick them for enrollment Pic.6.
7. The tab Course Catalogue is also used to search the elective courses with the use of the codes from this list.
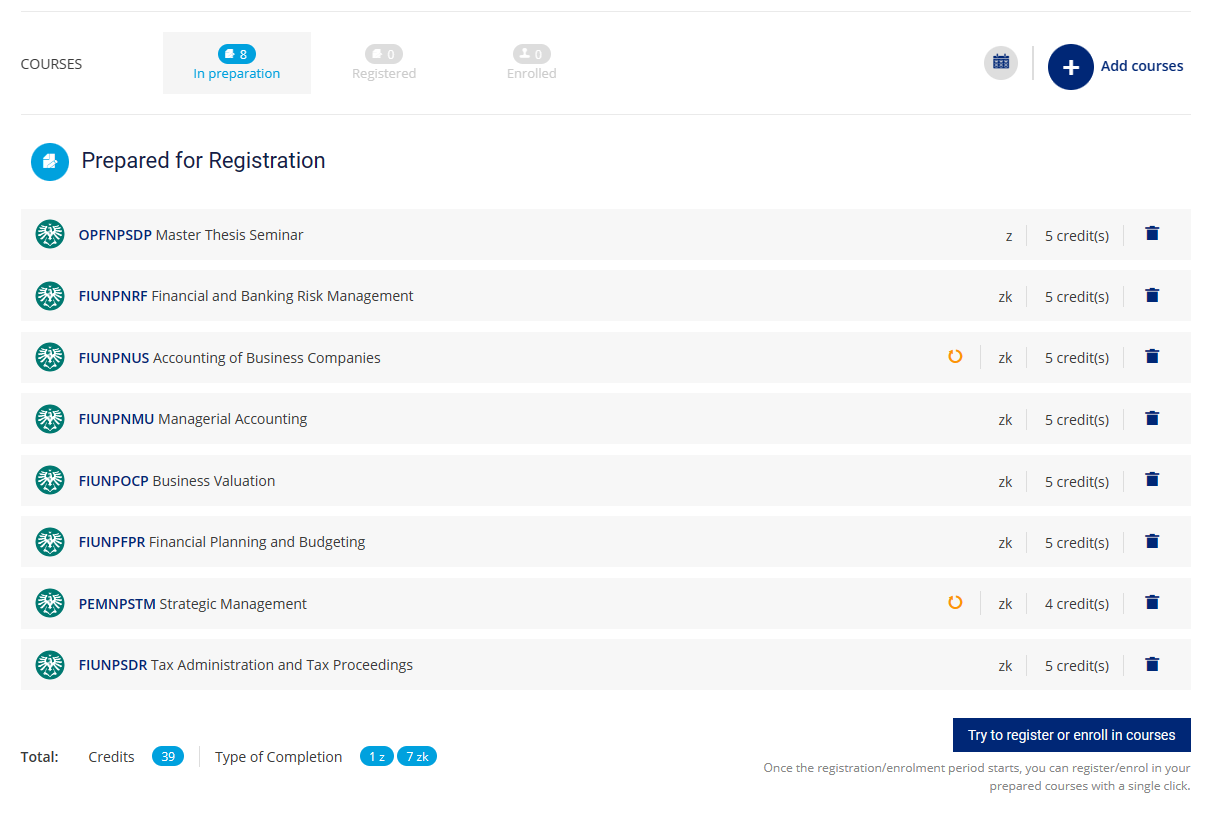
8. Enrollment will be finished by clicking on Try to register or enroll in courses Pic.7.
Enrollment is possible only at the set dates, that are visible in the upper part of the page Registration and Enrolment) or can be find here.
Don't forget to sign into the seminar groups after the enrollment!
